Gear Review - First Impressions Move Shoot Move Rotator / Tracker
- Christopher Neal

- May 30, 2023
- 3 min read

I have been a dedicated stacker since I learned the technique in late 2016. My workflow both when I’m out shooting and post-processing is built around it. I have never been all that interested in trackers but when I saw the Move Shoot Move I was intrigued. Not only can it be used for tracked espouses but it doubles as a rotator, for just over $200.
I pulled the trigger a week ago and it showed up in the Saturday mail. So I charged it up, figured out how to get it mounted (in the daylight, in my driveway as you should do with every new piece of gear) and got ready to try it out. My plan to shoot Friday night had been changed to Saturday so it worked out perfectly.
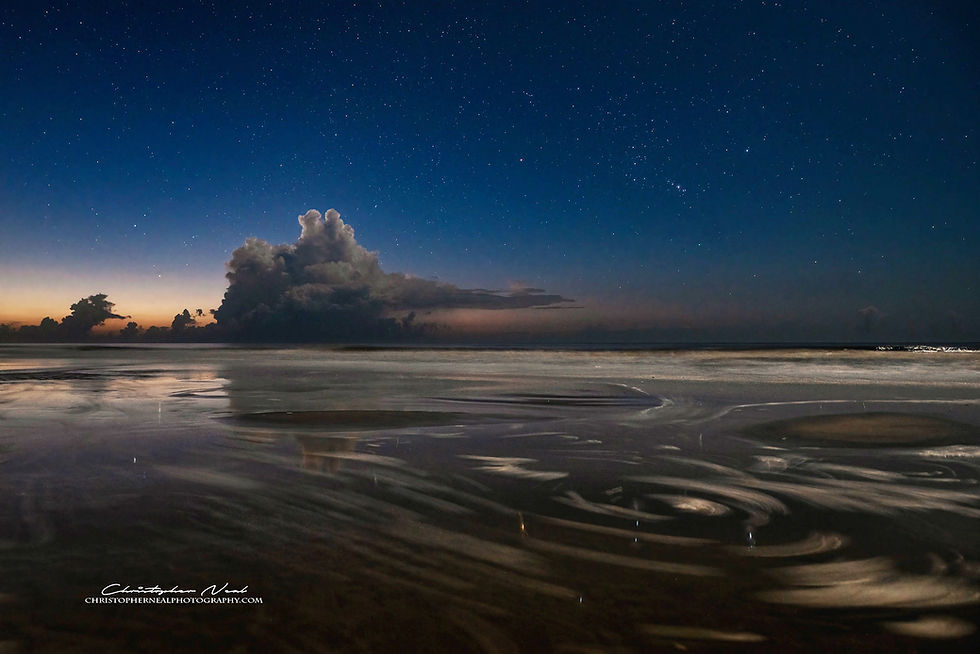
I got out a little early so I set the Move Shoot Move up as a rotator to capture some time-lapse as the Milky Way began to rise. This is a fairly simple process of mounting it on your tripod and then placing your ball head on top of it. I made sure the tripod was level, otherwise the sequence would quickly become slanted. At the recommendation of another user on the MSM Facebook group, rather than set it up to move a certain degree after every shot I simply used the tracking mode which moves at the same speed as the earths rotation. With 20 second exposures any motion in the foreground is undetectable.
After letting it run for about 45 minutes I moved to my second location and setup my first tracked images. Two issues stand out that are easy fixes. First have a good second ball head to mount the tracker on, I have an older one that isn’t quite as sturdy or user friendly as my new one. Secondly, make sure that the star you are aligned on is actually Polaris. You can get results by lining up on a star near Polaris but they won’t be as good as they should be.
The best workflow seems to find your composition, align, shoot your foreground, double check your alignment then shoot your tracked shot. There seems to be less jostling around of the equipment this way.
Several drawbacks to tracked shots became apparent to me. Shortly after starting a 2 minute exposure a fellow photographer turned on a light and walked up the beach. Had I been shooting multiple shorter exposures he wouldn’t have shown up, especially after stacking. Also as clouds began to move in it got harder for me to get clear shots or even make sure my alignment was correct.
The real test began when I imported the images into Lightroom and began processing. It is nice not to have to go through the time consuming step of pre-processing and stacking but I have an added step of blend the foreground and sky. The mistake I made of not aligning on the correct star became clear with slight tailing in the center and heavier tailing on the edges. It was still quite sharp considering the shutter was opened for almost 2 minutes. I was also able to pull much greater detail with less noise out of the foreground.
Once I processed a few shot I noticed the color saturation seems to be better with the tracked shots. I can only image that some color detail gets removed as noise when you stack. I haven’t had time to work on any of the stacked shots I did later but the comparison should be interesting.
I only got a few shots before I switched back to my normal workflow but overall I’m impressed. I can see me shooting more with it after I practice and address a couple of issues. It is worth every penny so far.
Tutorials
Please check out my YouTube Channel for more tips, tutorials and walkthroughs.


Comments